Archive for the ‘News & Updates’ Category
Posted on December 17th, 2016 at 12:21 am under News & Updates

I got an idea from Pinterest. It’s pretty ambitious, but when I get something in my head, I have to go for it.

I decided to make felt Lola ornaments for our tree (and one for Lola’s BFF Nancy in the leasing office, which I know will make her bawl like a baby).

I used an actual photo of her to make the design, and I’m planning to make it out of basic craft felt — if I can get the damn stuff to cooperate! — using my Silhouette Curio to cut the shapes out.

So, Attempt 1: I tried just putting the felt right on the adhesive cutting mat and doing a straightforward cut. That resulted in a whole lot of nothing. The felt got pulled around by the blade and didn’t cut so much as floof.

Attempt 2: I have some fusible interfacing I bought for just such a purpose. I got my iron fired up and did just a few pieces to test.* Felt on interfacing on mat, same result: nada.

*Pro tip: Don’t get your iron too hot. It will obliterate your interfacing and deform or outright melt your acrylic felt. Trust me on this. I used the polyester setting (medium heat) on my iron, with no steam.

Attempt 3: I read you can use freezer paper in the same way, so I tried felt on freezer paper on the mat AND freezer paper on felt on the mat. Nope on both counts.

Attempt 4: Put the felt on vinyl (I used adhesive contact paper) on the mat and cut. The cuts partially went through the vinyl (which was on the bottom, wut??) and just floofed the felt a bit more. There was maybe a tiny little cut made when the blade first started, but again, no result.

Attempt 5: Felt on vinyl on the mat, but with clear packing tape on top of the felt to make the surface more steady (similar to the freezer paper on felt on the mat in Attempt 3). That really just meant that the blade pulled the partially-cut tape around with the felt, and still no dice.

So.

Damn.

Frustrating.

My next attempt will be with stiffened felt. I’ve seen recommendations from flour-and-water to specialty fabric stiffening products. I’ve seen people lauding a 1:1 mixture of white glue and water, but since I seem to have every single type of adhesive OTHER than white glue, I’m using matte Mod Podge. I measured a few tablespoons of Mod Podge and added 3 to 4 cups of water, mixing it well.

I submerged the felt in the mixture, squeezing it to make sure it was saturated. Then I squeezed again to get the excess moisture out without stretching the felt and laid it out to dry. I just ironed the first piece (again, polyester setting) to get it nice and flat. Heating it with the iron felt like it removed some of the stiffness, and it freaked me out because I’m just so ready to get on with this project, but as the felt cooled it stiffened again.

Tomorrow I’ll try cutting again (since today has been horribly exhausting and the bed needs me). Updates then!
 Comments Off on The Felt Saga 
Posted on December 16th, 2016 at 12:37 am under News & Updates

I know, I know…it’s been way too long. I thought it was way past time I update you on the fun stuff from the last several months, plus make a promise to be better about posting as events unfold.


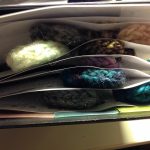
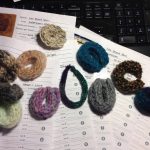
April 28: I started a noodle binder! I knit little i-cords for all of the yarns I had and filled out pages for each brand.

Update: I have sooo muuuch yaaarn. The noodle binder is so far behind. I look at it every time I walk by, fully intending to get everything caught up but… /sigh

Read the rest of this entry »

 Comments Off on Crafty Goodness 
Posted on April 16th, 2016 at 10:15 am under News & Updates

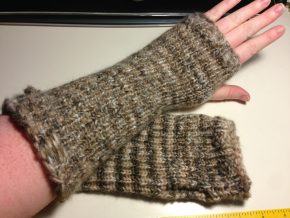
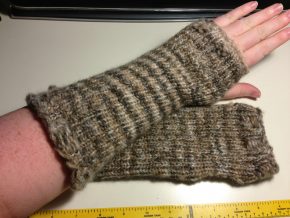
So I forgot to post about them, but I made a second pair of armwarmers after I posted last. I used the same pattern as before but worked elbow-to-fingers to balance the snugness of either end.

They came out really well, but the yarn baffles me (Patons Misty in Fawn Fur). One of them was a lovely mottled combination of tan and brown, and the other wound up striped. They’re just for me, so I don’t care much…just thought it was funky!

Not stripey... Stripey!

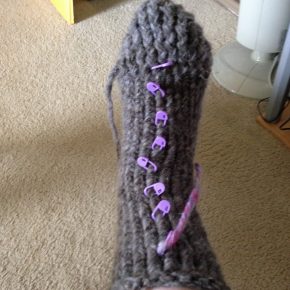
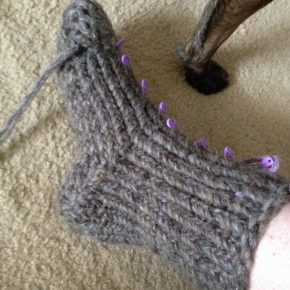
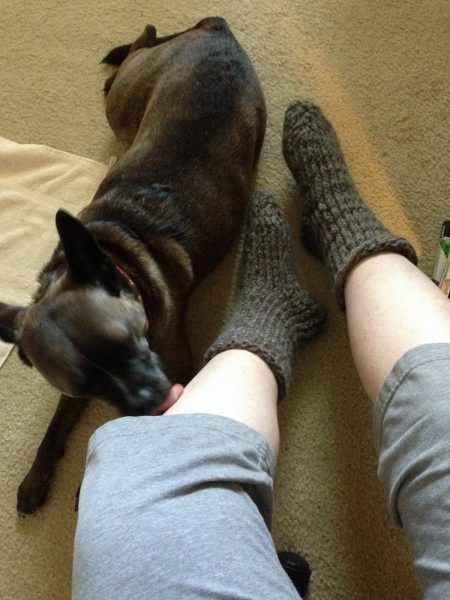
I also made some house socks with the grey version of the same yarn (Patons Misty in Granite Dust [discontinued]). After restarting the first sock 12+ times (I honestly lost count) to get the short row technique right, I finally got it finished after about a week. I then had to rework the bind-off because the technique I originally used gave me zero stretch.

The second sock was going great — finished in two days! — but after I had it all bound-off and the tails trimmed, I realized the heel-toe and heel-cuff row ratio (I just made that up) was off. Long story just a bit shorter, I had to work the second sock back before I started the heel in order to fix it. It turned out pretty well! This yard did the same thing the brown yarn did, though, and it’s even weirder because I used two skeins at once to do the socks; the colors had to line up just right not only within the skein but between two skeins.

Anyhow, here they are:

Top View Side View

Lola approves!

As expected, they’re soft and warm, but I seem to feel the stitches pretty distinctly on the soles of my feet when I walk in them. It’s a bit like getting a tiny foot massage, and not entirely unpleasant. The bind-off I used is a version of the one in the toe-up sock tutorial linked above.

Next project is one last pair of armwarmers (for now) using this pattern on Ravelry (you need to register for an account [free] to see it). The yarn I’ll be using is Patons Kroy Sock in Bramble Stripes.

Posted on March 20th, 2016 at 3:41 pm under News & Updates

I got the unexpected chance to wear my armwarmers today. We had temperatures in the mid-80°s last week, and it topped out at 44°F today, which happens to be the first day of Spring.

After wearing my armwarmers for reals during our daily dog park excursion, I’ve made a list of changes that need to be made in my next pair.

First, they’re pretty long. I thought I would like that — and the length might be good if I’m around the house in a t-shirt and my arms get cold and I don’t want to wear a sweater — but under a long-sleeved jacket, it becomes an issue. The tops(? I’m guessing the elbow end is the “top”) slip toward my wrist a bit and it’s a little awkward trying to scoot them back toward my elbow without pushing my jacket sleeve up too.

Second, the thumb hole is a little too big for me. It just seems to give the whole thing less of a reason to stay in place and not slip down a bit.

Third, the ribbing on the palm end is the same size as the ribbing on the elbow end, which as you can imagine, doesn’t feel quite right. When I stick my hands in my pockets, the ribbing rolls up, and then I have to wiggle my hand around in my pocket until I get it to lie flat again. I might omit the palm ribbing altogether on my next pair.

Anyhow, I’m going to work up another pair and see what happens.

 Comments Off on Armwarmer Rehash 
Posted on March 19th, 2016 at 2:36 pm under News & Updates

Continued from Part 1:

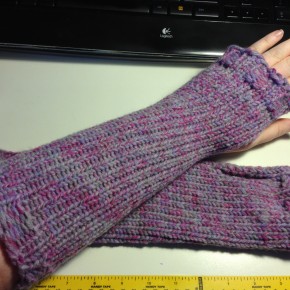
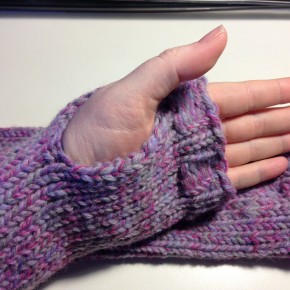
Next up are some armwarmers! I got this tutorial from Melli’s Mish Mash via Pinterest. They are also not perfect (I miscounted my rows on one), but they’re cute and comfy and will come in handy (hah!) next winter. I only used one strand of bulky yarn instead of two (there are modifications in the tutorial for this), and they still came out great:

Arm Warmers Arm Warmers - Palm View

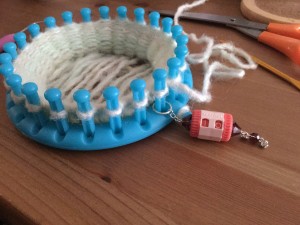
I found myself in need of a row counter after the armwarmers. I bought this Clover knitting register (row counter, made to slide onto knitting needles) and blinged it out to use on my looms:

Aww yeah.

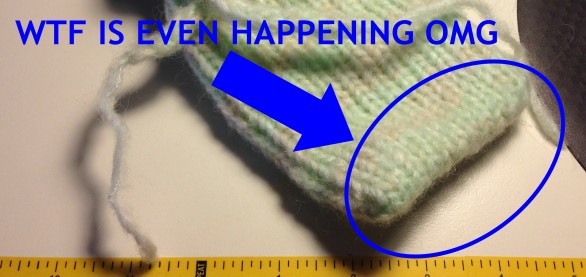
And there you can see my first attempt at modifying a project! I wanted to make a little drawstring bag, but I didn’t want to have to seam the bottom. Enter the ingenious Kitchener cast-on. I mean, really, look at this shit:

NO SEAMS. That is fucking majestic.

So I made a zillion little bags (ok, four — so far):

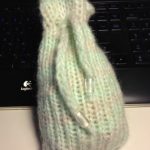
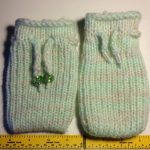
Bag 1 (Knit Stitch)This first one was a simple 35-row knit with eyelets and a 2-strand I-cord drawstring. I tossed some dichroic glass beads on there for some pizzazz. It’s soft and stretchy, and I love the way the stripes formed as I knitted. Here, it’s holding my ~60 dice.

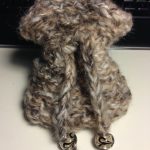
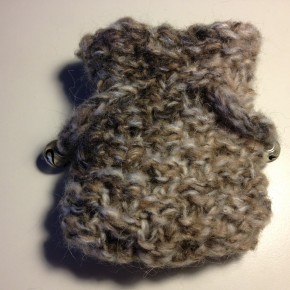
Bag 2 (Moss Stitch)Here’s bag number two. It’s 20-ish rows worked in moss stitch. It’s holding a 7-piece dice set, but there’s still room for plenty more. This is another one of those yarns that just need a simple stitch. The color pattern obscures anything fancy you try to do.

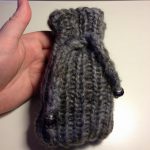
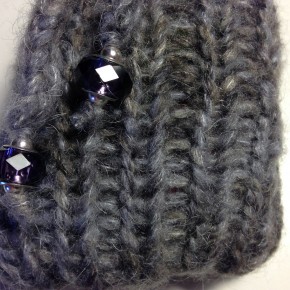
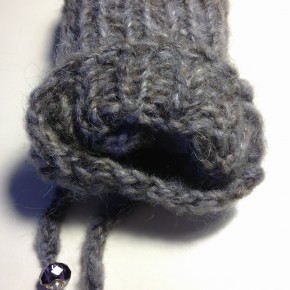
Bag 3 (Ribbed Stitch)Bag number three is a 30-ish row ribbed stitch. I love this charcoal color. There’s some very subtle striping in there, but mostly it just looks heathered.

Because all three of these bags were worked in “true knit” stitches, they’re all smooshy and have some “give,” so they will stretch out to accommodate their contents.

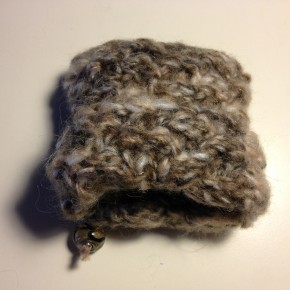
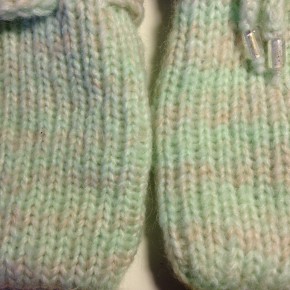
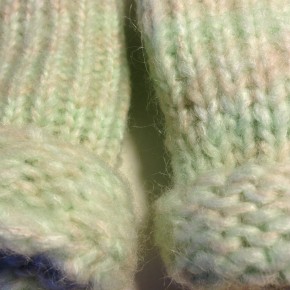
Flat vs TrueThis last bag is different, though. I worked it in U-wrap flat/twisted/single knit stitch, so the result is a much firmer, tighter material that holds its shape well. You can see in the pic that the flat stitch bag (left) is more compact than the knit stitch bag (right). Because of the tighter work, the striping effect is more dense and the top edge wants to curl over (which might be your thing, I dunno).

Here are some more pics showing the inside stitches and finer details:

Moss Stitch Detail Moss Stitch - Inside vs Outside
Ribbing Detail Ribbing - Inside vs Outside
Knit Variations Detail (Flat vs True) Knit Variations Detail - Flat vs True, Inside vs Outside

 Comments Off on Crafting Lately, Part 2