I’ve always loved making wreaths, and over the last few years I’ve loved displaying them as well. We’re not just talking the ubiquitous Christmas wreath; I mean wreaths for many holidays and every season.
I’ve started going bigger and bolder with my wreath designs, and this has caused unforeseen strife in our household: The wreaths obscure our apartment number on the door.
In a toss-up between decorating our front door and receiving deliveries in a timely fashion, the wreaths lost. As you can see, our spring wreath started out in a lovely position on the door:

…And as you can also see, our “E” is almost completely hidden. After only a day or two, Peter rotated it nearly 180° and shifted it upward so the “E” was visible again, but the symmetry of the design was lost in that position. Sigh!
Our exterior doors are metal, so when I wasn’t using the upside-down Command hook trick or a proper wreath hanger, I used a heavy-duty magnetic hook. That set off a light bulb in my brain.
Our doors are metal! Why not make a magnetic replacement letter?!
Using my Silhouette Portrait, some Silhouette magnet paper, and a bit of Silhouette matte gold adhesive vinyl, I set to work.
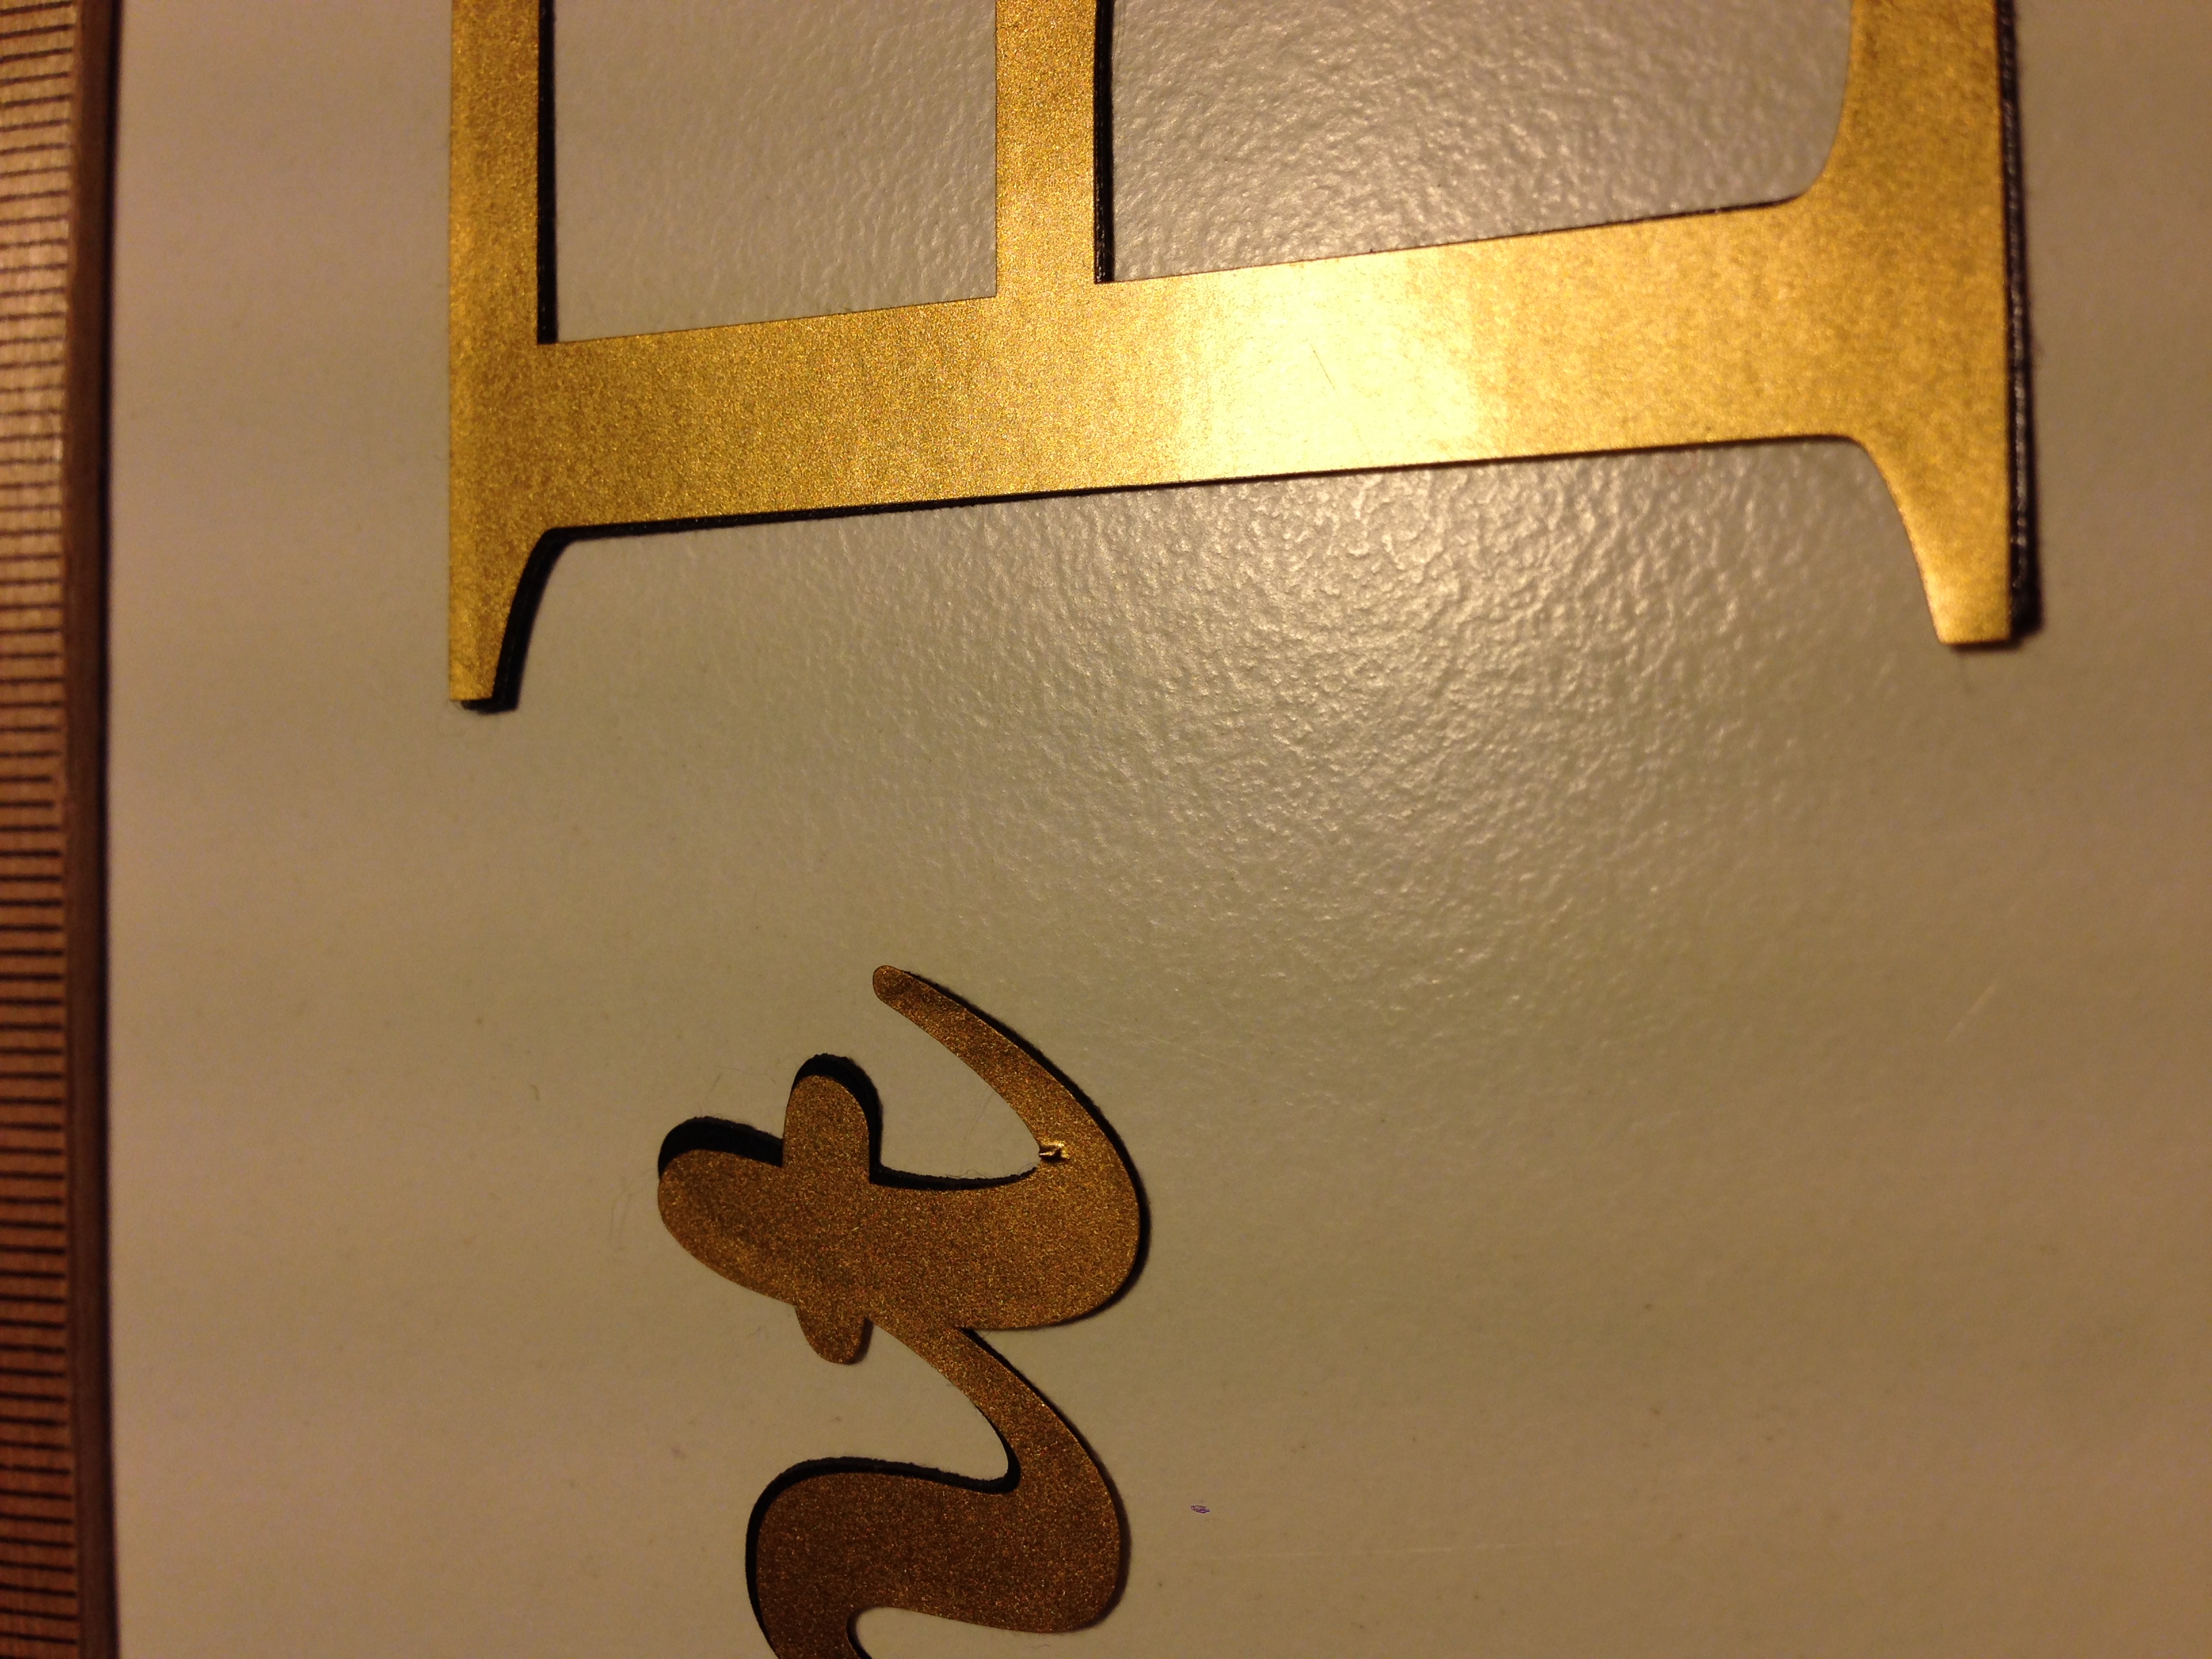
For the first attempt, I found a nice (readable!) script font that attaches each letter — Armonioso — and a serif “E.” I cut the magnet paper and the vinyl separately, then removed the backing paper from both cutouts and did my best to line them up. It wasn’t perfect, but I figured it was good enough:
The “Apartment” text was 6″ wide, and the “E” was a bit more than 2″ tall. Here’s how it looked on the door:

Meh.
Now that I knew what I was doing (and what I was doing WRONG), I took another stab at it.
First, I tweaked my design in the Silhouette software and made a note of the final cut dimensions. I shortened “Apartment” to “Apt” and made the “E” bigger and bolder and italic-er. I cut a piece of magnet paper and a piece of adhesive vinyl to fit.
Second, I adhered the magnet paper and the vinyl to each other BEFORE sticking them to the cutting mat and running them through the Portrait. (No more mismatched cutouts! That was driving me bonkers!)


Here’s the finished product on the door:

Lessons learned:
- Pre-adhering the magnet paper and vinyl is definitely the way to go. Trying to line two very sticky things up after they’re cut is beyond tedious, and it’s highly unlikely you’ll get a perfect match.
- The default cut settings for the Silhouette magnet paper are Blade 6, Speed 1 (lowest), Thickness 33 (highest), Double Cut on. I recommend bumping the blade up to 7 or 8. The magnet paper is very soft and will easily tear if you haven’t cut deep enough and aren’t careful while weeding. I used the default settings and was just able to very delicately extract the cut shapes.
- When editing your text in the Silhouette software, make sure to Modify > Weld to make your script letters all one word shape, and Modify > Crop to make sure your cut dimensions aren’t including any buffer areas around the letters. This will also ensure a more accurate measurement when resizing your shapes.


This was a fun project, and hopefully it will help save others’ sanity when it comes to holiday — or everyday — decorating. 🙂